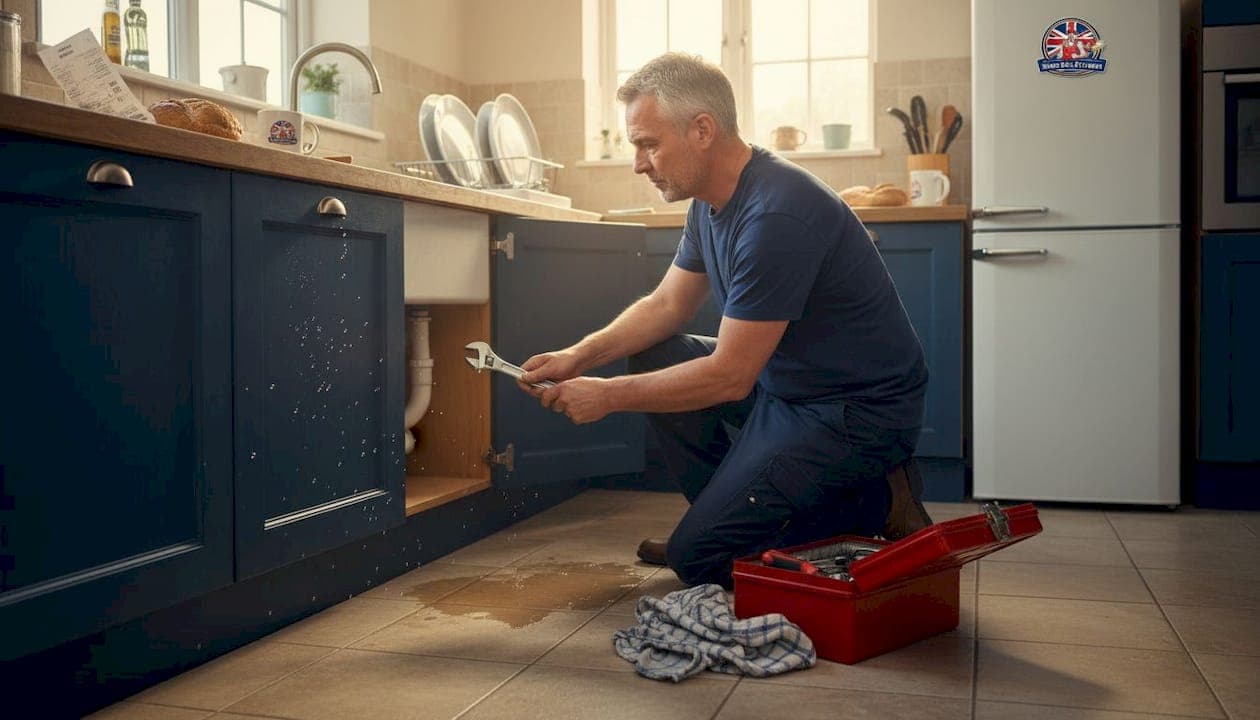
Water spreading across your kitchen floor at midnight, the sound of a pipe gushing behind the wall, the rising panic as you wonder what to do first. A burst pipe is one of the most stressful things that can happen in a home, and the decisions you make in those first few minutes matter enormously. Get it right and you limit the damage, protect your belongings, and set yourself up for a proper repair. Get it wrong and you risk structural harm, electrical danger, and a far more expensive fix. This guide walks you through every stage, from that first alarming moment to knowing when to hand things over to a qualified plumber.
Table of Contents
- Immediate safety actions when a pipe leaks or bursts
- Essential tools and materials for effective pipe repair
- Step-by-step guide to temporary emergency pipe repair
- Permanent pipe repair methods: when and how professionals fix pipes
- Verifying repairs: checking for leaks and preventing future problems
- Why shortcuts in pipe repair rarely pay off
- Get fast, reliable pipe repair help today
- Frequently asked questions
Key Takeaways
| Point | Details |
|---|---|
| Act swiftly | Turn off water and power rapidly at the first sign of a pipe leak to prevent serious damage. |
| Use temporary fixes | Clamps, tape, and epoxy can buy time but are not a substitute for proper repair. |
| Hire professionals | Permanent pipe repairs almost always require expert tools, skills, and compliance with safety standards. |
| Verify repairs | Always check for leaks after repairs and schedule regular plumbing checks to avoid recurrence. |
Immediate safety actions when a pipe leaks or bursts
The moment you spot a leak or hear the unmistakable sound of water escaping under pressure, your instinct may be to grab towels or move furniture. Resist that urge for just a moment. Safety must come before salvage.
The standard pipe repair process starts with three non-negotiable steps: shut off the main water supply, switch off electricity in any areas where water is present, and open all taps to drain the remaining water from your pipes. These three actions alone can prevent catastrophic damage and keep you safe from electric shock.
Here is exactly what to do as soon as a pipe emergency begins:
- Locate and close the main stopcock. In most UK homes, this is under the kitchen sink or where the supply enters the property. Turn it clockwise until it stops.
- Switch off electricity at the consumer unit. If water is dripping near sockets, light fittings, or appliances, treat it as a live electrical hazard and cut the power immediately.
- Open every cold tap. This drains the remaining water out of the pipe system so pressure drops quickly and less water escapes from the damaged pipe.
- Open the hot taps too, but carefully. This relieves pressure from the hot water cylinder and immersion heater.
- Place towels, buckets, or bowls under any active drip points to contain the mess while you plan the next steps.
- Document the damage with your phone. Photos are useful for insurance claims and help a plumber assess the situation before they arrive.
Remember: Water and electricity together are deadly. If there is any doubt about whether water has reached your consumer unit or any wiring, do not re-enter the affected area until a professional confirms it is safe.
Acting fast genuinely matters. Every minute a burst pipe goes uncontrolled, water is finding its way into flooring, joists, insulation, and wall cavities. Familiarising yourself with emergency plumbing steps before a crisis happens is one of the smartest things you can do as a homeowner.
Essential tools and materials for effective pipe repair
Once the immediate safety actions are done, the situation is contained. Your next job is gathering what you need to manage the repair, whether that is a temporary fix until help arrives or a more involved task.
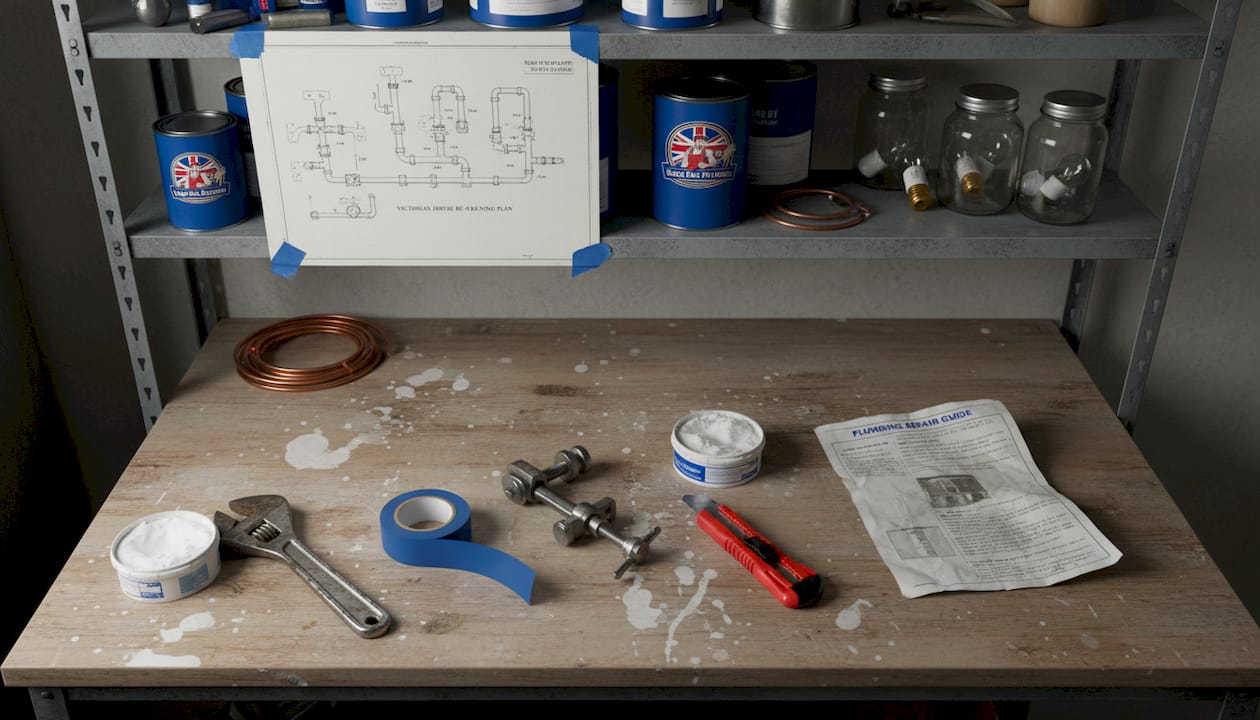
Having the right materials to hand makes the difference between a controlled situation and a worsening one. The table below covers the most useful items and what each one does.
| Tool or material | Best use case | Skill level needed |
|---|---|---|
| Pipe repair clamp | Quick seal over a crack or small hole | Beginner |
| Self-fusing silicone tape | Wrapping small leaks on accessible pipes | Beginner |
| Epoxy putty | Filling gaps or holes in stationary pipes | Beginner |
| Slip coupling | Joining two pipe ends after cutting out damage | Intermediate |
| Pipe cutter | Cleanly cutting damaged pipe sections | Intermediate |
| Soldering torch and solder | Permanent repair of copper pipes | Professional |
| Pipe wrench and grips | Loosening and tightening fittings | Beginner to intermediate |
| PTFE tape | Sealing threaded joints | Beginner |
| Bucket, mop, and towels | Water management during repair | N/A |
Temporary emergency fixes such as pipe repair clamps, self-fusing silicone tape, and epoxy putty are designed to contain a leak until a professional arrives. They are not permanent solutions, but they are remarkably effective at slowing or stopping a leak long enough for you to get proper help.
Before you buy anything, check what kind of pipes you have. Copper, plastic (PVC or CPVC), and flexible PEX pipes all behave differently and require different repair approaches. If you are unsure, refer to our overview of essential plumbing tools and related repair materials to help identify what you are working with.
Pro Tip: Keep a small "pipe emergency kit" in a cupboard at home. Include a roll of self-fusing silicone tape, a tub of epoxy putty, and a universal pipe repair clamp. These cost very little but could save you thousands in water damage if a leak happens at 2am.
Step-by-step guide to temporary emergency pipe repair
With the water off, electricity safe, and tools in hand, you can now take action to contain the leak. These temporary fixes are within the capability of most homeowners and can make a real difference while you wait for a professional.
-
Dry the damaged area thoroughly. Silicone tape and epoxy both bond poorly to wet surfaces. Use a cloth or hairdryer to get the pipe as dry as possible before applying anything.
-
Assess the size and type of leak. A pinhole leak or hairline crack is manageable with tape or putty. A split along a long section of pipe or a joint that has blown apart requires a clamp or immediate professional attention.
-
Apply self-fusing silicone tape. Start a few centimetres below the damaged spot. Stretch the tape firmly and wrap upward in overlapping layers, continuing a few centimetres above the damage. The tape bonds to itself without adhesive, forming a watertight seal. This works well on straight sections of pipe.
-
Use epoxy putty for holes and gaps. Mix the two-part putty by kneading it until it turns a uniform colour. Press it firmly into the hole or crack and smooth it around the pipe surface. Allow it to cure fully before restoring water pressure.
-
Fit a pipe repair clamp for larger cracks. Centre the rubber pad of the clamp directly over the damage. Tighten the bolts evenly on both sides until the seal is firm but not over-torqued. These temporary emergency fixes are highly effective for managing leaks on accessible pipe runs.
-
Restore water pressure slowly. Partially open the main stopcock, then check the repair point closely for any sign of moisture. If the fix is holding, open the supply fully and monitor for several minutes.
-
Know when to stop. If the repair does not hold, or if you cannot access the pipe, or if water is still spreading, stop and call a qualified plumber. Do not keep re-applying temporary fixes to a situation that is beyond their scope.
Pro Tip: Never use standard adhesive tape, plumber's tape on its own, or chewing gum style improvisations on a pressurised pipe. They will not hold, and you will waste valuable time. Stick to products designed specifically for pipe repair.
For a broader look at what repairs you can safely handle yourself, our full plumbing repair guide is worth reviewing before you start.

Permanent pipe repair methods: when and how professionals fix pipes
Temporary fixes buy you time. They are not the end of the story. Once the immediate leak is controlled, permanent repair is essential, and for the vast majority of situations, that means calling a qualified plumber.
Permanent repair methods vary by pipe type: copper pipes are repaired using soldering or slip couplings, PVC and CPVC pipes involve cutting out the damaged section, priming the ends, and cementing a new piece in place, and PEX piping is rejoined using crimp or expansion fittings. Each approach demands specific tools, knowledge, and experience to execute safely.
| Pipe type | Permanent repair method | Why a professional is essential |
|---|---|---|
| Copper | Soldering or compression coupling | Requires torch work and knowledge of heat application |
| PVC / CPVC | Cut, prime, solvent cement | Incorrect adhesive or gap sizing causes future failures |
| PEX | Crimp or expansion fittings | Specialist tools needed; incorrect fitting risks silent leaks |
The risks of attempting these repairs yourself go beyond a simple failed fix. DIY permanent repairs can cause code violations, pressure failures, and health risks including lead exposure from disturbed older pipework. Your home insurance policy may also be invalidated if unapproved plumbing work is found to be the cause of subsequent damage.
Think about the long game. A botched permanent repair often hides inside a wall or under a floor for months before showing itself again, usually as damp, mould, or a structural problem that costs far more to fix than the original leak ever would have.
Proper professional repair also adds genuine value to your home. Knowing your pipes are correctly maintained gives you confidence and protects lasting plumbing value in the long term. It also means future buyers or surveyors will not flag your pipework as a liability. For urgent situations, understanding why professional plumbing repairs matter goes well beyond convenience.
Verifying repairs: checking for leaks and preventing future problems
Whether a professional has carried out the repair or you have applied a temporary fix, the job is not finished until you have verified the result properly and taken steps to prevent a repeat emergency.
Here is how to check your repair and protect your home going forward:
- Watch the repair point closely for the first 30 minutes after restoring water. Look for drips, moisture, or discolouration on the pipe surface.
- Check for dampness behind walls or under flooring near the affected area over the following 24 to 48 hours. Water can travel along joists and appear in unexpected places.
- Monitor your water meter. Turn off all taps in your home, note the meter reading, and check it again after 30 minutes. If the reading has changed with no taps running, you have a hidden leak.
- Inspect all visible pipework in your home every six months, particularly in areas prone to cold temperatures such as lofts, garages, and external walls.
- Lag your pipes before winter. Foam pipe lagging is inexpensive and takes less than an hour to fit. It significantly reduces the risk of freezing and subsequent bursts.
- Know where your stopcock is and ensure all adults in the household know too. This one habit saves countless homeowners from unnecessary damage every year.
Water damage is consistently underestimated by homeowners who rely on temporary fixes for too long. A professional follow-up visit, even after a successful DIY patch, gives you the peace of mind that no hidden damage was left behind. Protecting your home from secondary water damage is just as important as fixing the initial leak.
It is also worth reviewing your home insurance policy after any pipe incident. Some policies require you to report damage within a set timeframe, and failing to do so could affect any future claim.
Why shortcuts in pipe repair rarely pay off
Here is an uncomfortable truth that years of experience in emergency plumbing work confirms again and again. The homeowners who end up spending the most money on pipe repairs are almost never the ones who called too quickly. They are the ones who waited, tried too many DIY approaches, or trusted a cheap fix that looked fine from the outside.
There is a particular type of scenario that comes up repeatedly. A homeowner notices a damp patch on the ceiling. Instead of investigating properly, they patch the plasterwork and repaint. Three months later, the patch is back, darker this time, and when a plumber finally comes out, the damage has spread to the joists. What would have been a straightforward pipe repair has become a multi-trade job involving a plumber, a plasterer, and potentially a builder.
Even genuinely skilled DIY enthusiasts get caught out by the hidden risks of plumbing work. Pipes behind walls run in ways that do not always match the building plans. Older homes sometimes have mixed materials joined together in ways that behave unpredictably under pressure. Disturbing one section of an old copper system can send stress fractures to a joint three metres away that you never touched.
Choosing the right plumber from the start is genuinely one of the most cost-effective decisions a homeowner can make after a pipe emergency. A qualified professional will not just fix what is visible. They will assess the wider system, identify any contributing factors, and tell you honestly if other sections of pipework are at risk. That kind of whole-system thinking is what separates a proper repair from a repeat problem.
Speed matters too. The longer a leak runs, even a slow one, the more water works its way into places you cannot see. Mould can begin to form within 24 to 48 hours in damp conditions. Getting a fast, reliable plumber on site quickly is not impatience. It is good judgement.
Get fast, reliable pipe repair help today
Knowing the right steps is valuable, but knowing who to call when things go wrong is even better.
At Same Day Plumber, we respond quickly to pipe emergencies and planned repairs across the UK, with no call out charge and a no fix, no fee promise. Whether you need us at 3am or on a Sunday afternoon, our team is available 24/7 to get your home watertight again. Our plumbing services cover everything from burst pipe containment to full professional repairs across all pipe types. If you are in the Reading area, our local 24/7 plumbers are ready to respond quickly when you need us most. Do not wait for a small leak to become a costly problem. Reach out today and let us handle it properly, first time.
Frequently asked questions
What is the first thing I should do if a pipe bursts at home?
Immediately shut off the main water supply, then switch off electricity near any water to stay safe before assessing the damage.
Can I use tape or epoxy to fix a leaking pipe permanently?
Tape and epoxy are effective as temporary containment measures only; permanent repairs require proper techniques and, in most cases, a qualified plumber.
How do professionals repair copper, PVC, or PEX pipes?
Copper pipes are typically soldered or coupled, PVC and CPVC pipes are cut and glued with solvent cement, and PEX piping is joined using crimp or expansion fittings.
Is it safe to attempt a full pipe repair on my own?
Temporary fixes are reasonable in an emergency, but permanent DIY repairs risk code violations, pressure failures, and health hazards that make professional intervention the far safer and more reliable choice.